JupyterHub♯
JupyterHub[1] allows for running Jupyter notebooks as Slurm jobs on compute nodes.
Environment under active development
We are still testing the deployment ofJupyterHub on Picotte, and we appreciate feedback from our users. If you have feedback or encounter issues, please send us a detailed
email urcf-support@drexel.edu.
Connecting♯
Off-campus Access
Access to JupyterHub from off-campus currently requires an active VPN connection.
The JupyterHub server is located at https://jupyterhub.urcf.drexel.edu/. To start using JupyterHub, navigate to that URL and login with your Picotte account credentials (not your Drexel Connect credentials).
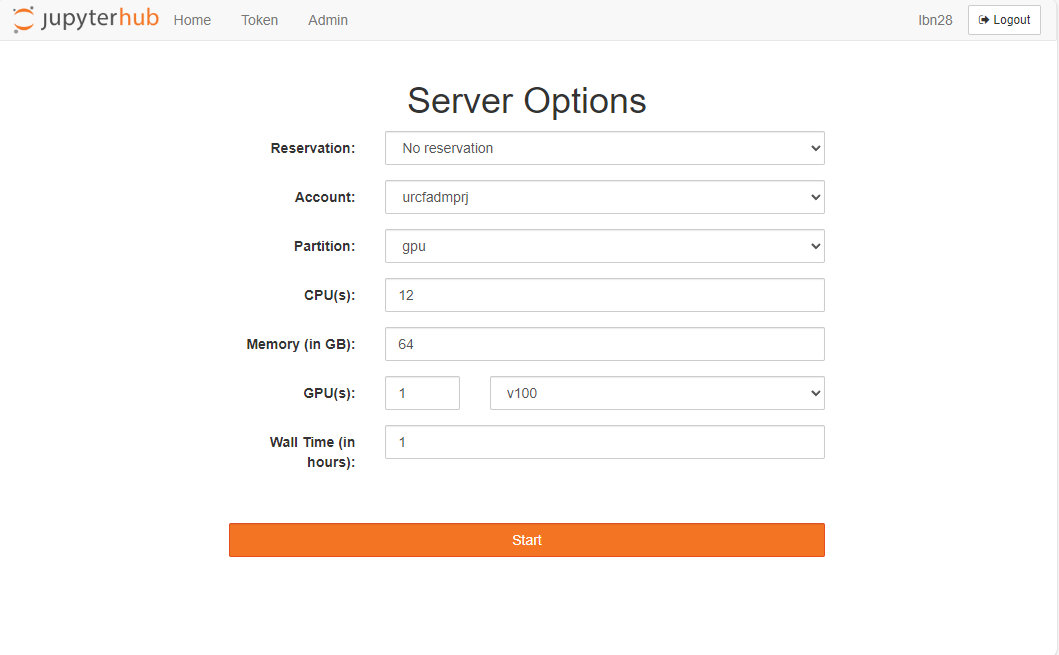
Launching a Jupyter Notebook Server♯
This JupyterHub deployment utilizes BatchSpawner to launch a Slurm job on Picotte. Users' actual Jupyter server, related Python kernels, and computation activities will be carried out on this Slurm allocation. At the moment, the Slurm job options allow users to choose the Slurm account
associated with the job (--account), compute partition (--partition), number of CPUs
(--cpu-per-task), amount of memory (--mem), number of GPUs (--gres=gpu:v100:1), and the
number of hours (--time).
After your job is launched successfully, you will be redirected to your Jupyter Server.

You are now ready to use Jupyter Lab on Picotte!
Custom Python Kernel♯
-
Start a new terminal session from your Launcher (the blue button with the plus icon on the top left of the Jupyter Hub interface)
-
By default, the virtual environment for your Python kernel will use the Python executables from module
pyhon/anaconda3.
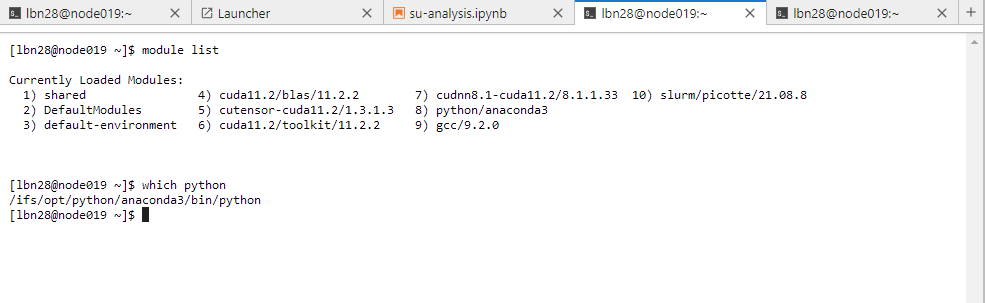
- To switch to a different Python, you can run the following command to remove the
python/anaconda3module:
module remove python/anaconda3
- Next, you can use
module loadto switch to a Python version that you prefer. - To create a virtual environment for your Jupyter kernel and add it to JupyterHub, run the following commands:
- Replace testKernel with your preferred name for your kernel
python -m venv /home/${USER}/venv/testKernel
source /home/${USER}/venv/testKernel/bin/activate
pip install ipykernel
python -m ipykernel install --user --name=testKernel
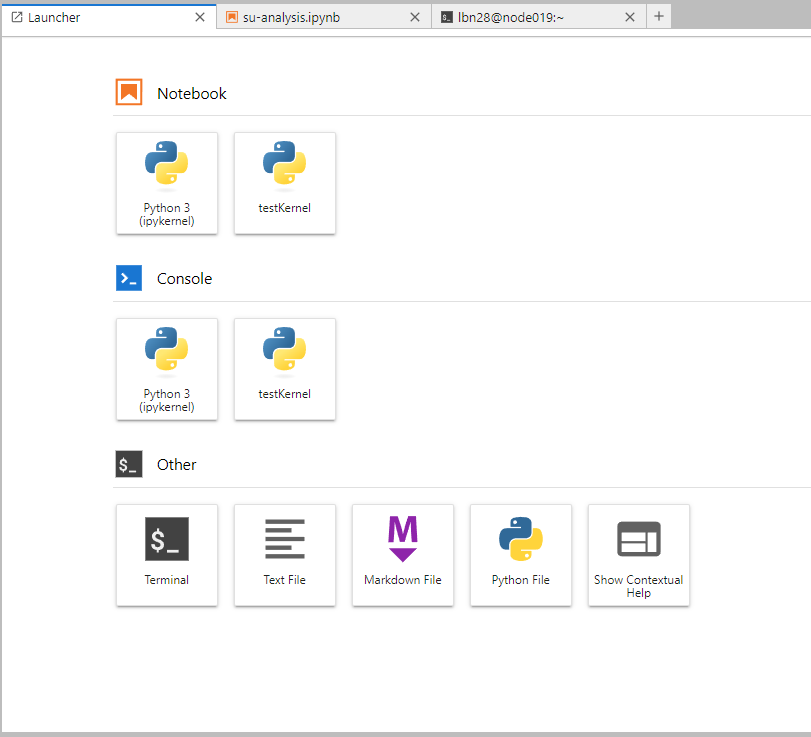
- After completion, refresh your JupyterHub page, and the new kernel will show up on your launcher:
- To add packages to your new kernel, you need to do the followings:
- Open a terminal,
- Load the preferred Python module if you did when create the virual environment,
- Activate the virtual environment
- Use
pip installto install the packages
source /home/${USER}/venv/testKernel/bin/activate
pip install pandas numpy
Custom R Kernel♯
- Start a new terminal session from your Launcher (the blue button with the plus icon on the top left of the Jupyter Hub interface)
- Load your R module. In this example, we are using
R/4.2.2
module load R/4.2.2
- Launch R and install the
IRkernelpackage. - If this is the first time you are installing packages, you will be asked to select a default non-root location and a CRAN repository.
- Quit R when you are done.
install.packages("IRkernel")
IRkernel::installspec()
quit()
- Update your R kernel
cp /ifs/opt/R/4.2.2/bin/kernel.json /home/${USER}/.local/share/jupyter/kernels/ir/
- Refresh your JupyterHub page, the new R kernel will show up in the launcher.
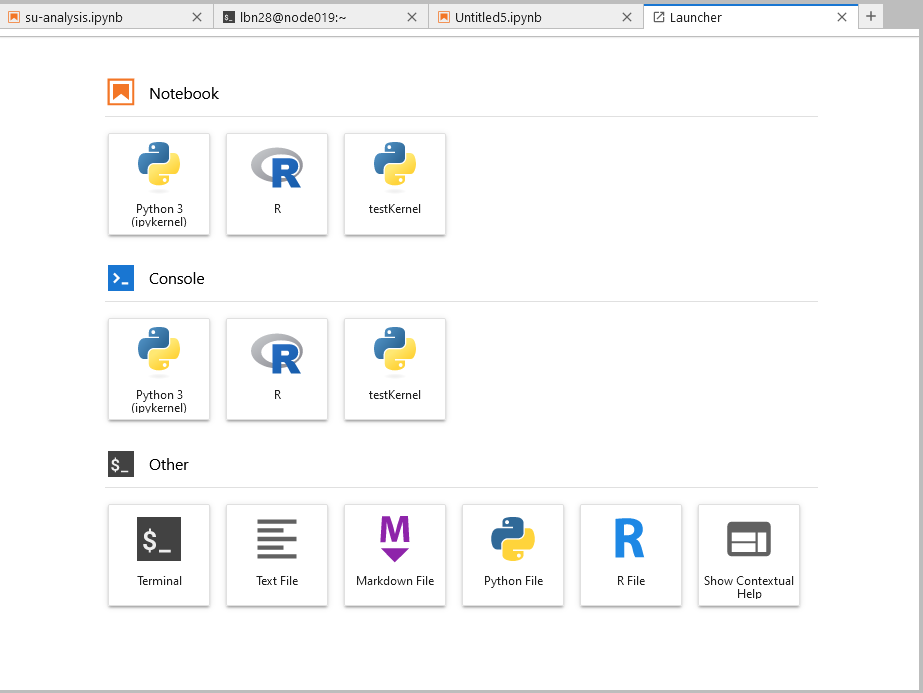
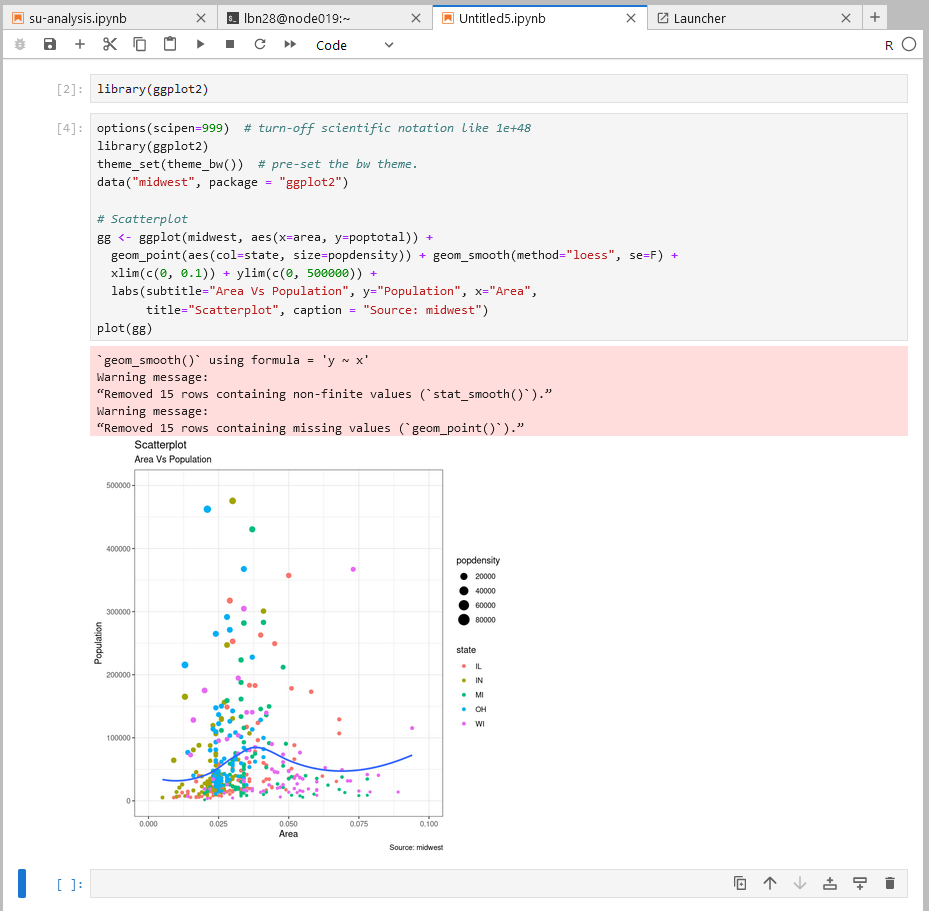
- Here is an example of how R notebook launched inside Jupyter
Using Jupyter Lab♯
More detailed documentation will be added here!