Jupyter via VS Code
Jupyter running on the Picotte login node (picotte001) can be used in
your PC browser via VS Code. The Jupyter extension
is not required.
N.B. running Jupyter this way runs the Python (or other language) kernel
on picotte001, i.e. the kernel is sharing one server with everyone
else who may be running Jupyter notebooks at the same time. This method
does not support running kernels as a job on a compute node.
Because this is running "live" on picotte001 where other users may be
working, please do not run compute- or memory-intensive code in
notebooks with this method. Also, picotte001 does not have any GPU
devices.
Glossary
- notebook - the web-based interface for interactive execution and display of results, similar to that in Mathematica or Matlab
- kernel - the language interpreter which executes the statements in the notebook; kernels exist for Python, R, Julia
Prerequisites
You must have set up the Remote Explorer and Remote SSH extensions in Visual Studio Code for this to work. See Visual Studio Code setup.
If you do not set up SSH keys, you may be prompted many times to enter your password. See SSH Keys for Passwordless Logins to set up SSH keys.
Running Jupyter on Picotte, displaying to a browser on your PC
We recommend this method rather than running inside VS Code itself (see next section). Running in a browser makes it a little easier to control the Jupyter kernel.
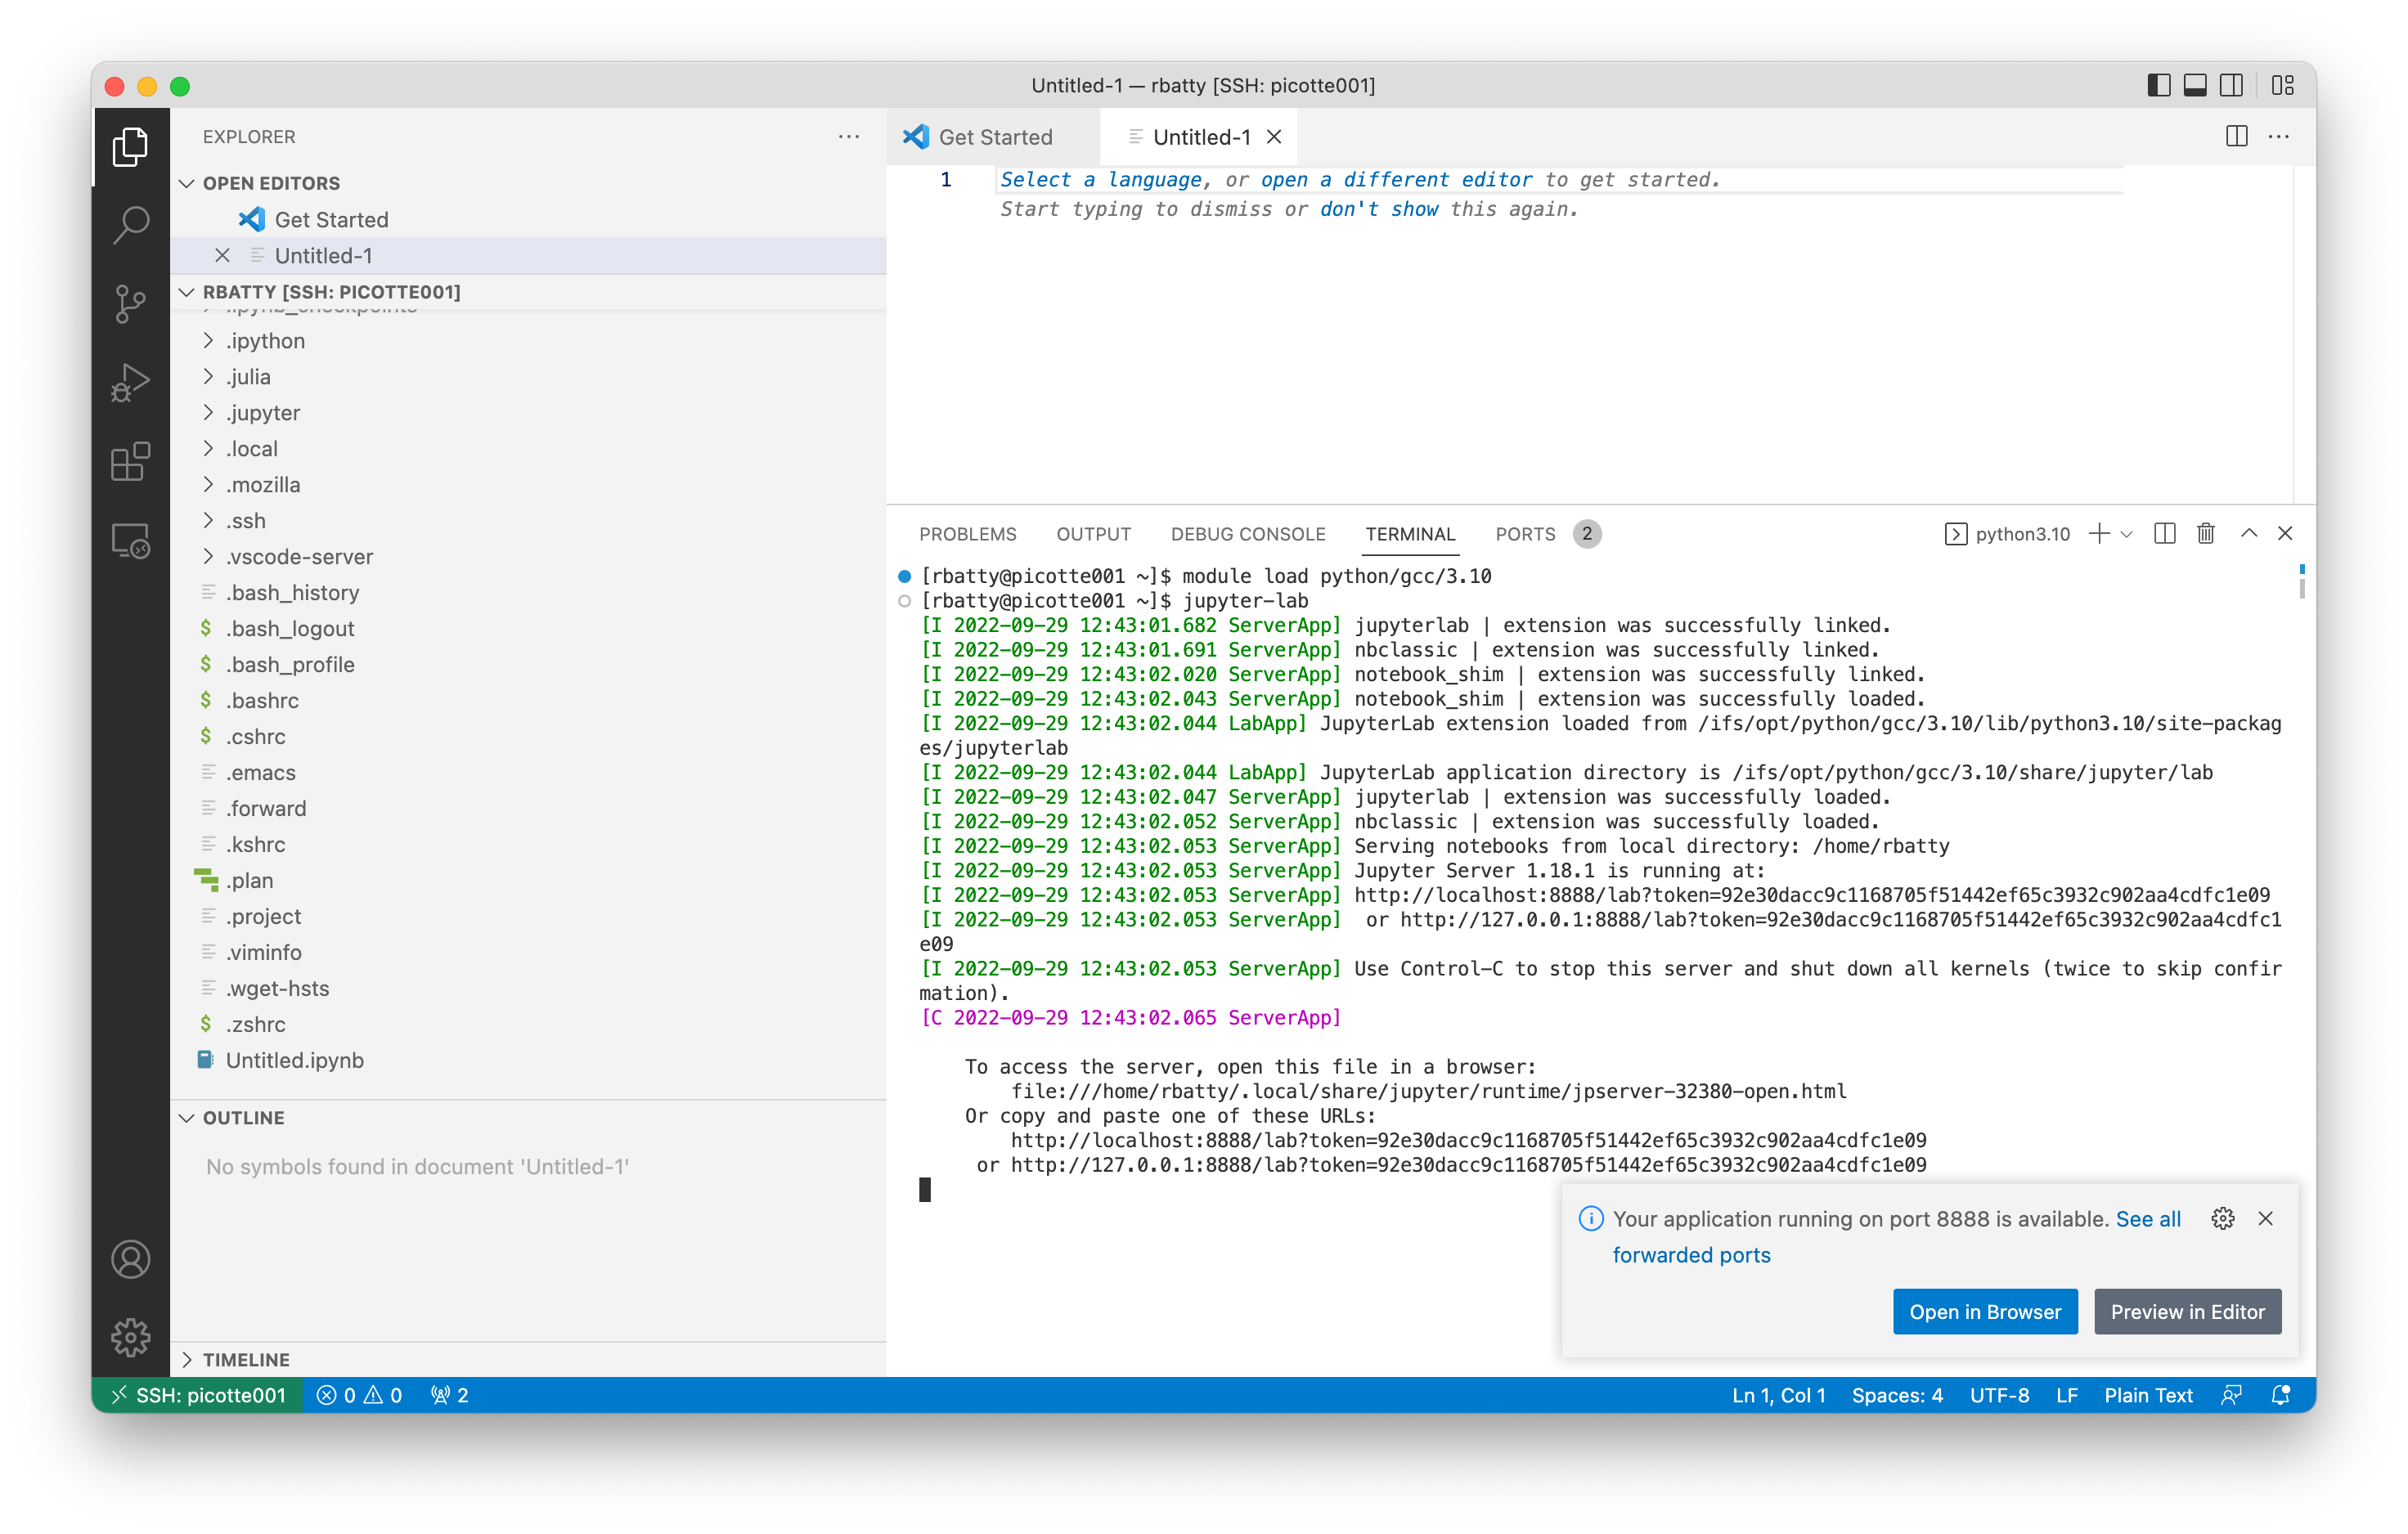
Connect to Picotte using the Remote Explorer, and open a terminal within VS Code.
In the terminal pane, load an appropriate module for Python, or use your
own installation. In this example, we use python/gcc/3.10. You should
see a small pop-up saying "Your application on port 8888 is available.
See all forwarded ports." with a button labeled "Open in Browser". Click
the "Open in Browser" button. You should see the Jupyter interface, with
a new notebook named "Untitled.ipynb".
[juser@picotte001 ~]$ module load python/gcc/3.10
[juser@picotte001 ~]$ jupyter-lab
[I 2022-09-29 12:43:01.682 ServerApp] jupyterlab | extension was successfully linked.
[I 2022-09-29 12:43:01.691 ServerApp] nbclassic | extension was successfully linked.
[I 2022-09-29 12:43:02.020 ServerApp] notebook_shim | extension was successfully linked.
[I 2022-09-29 12:43:02.043 ServerApp] notebook_shim | extension was successfully loaded.
[I 2022-09-29 12:43:02.044 LabApp] JupyterLab extension loaded from /ifs/opt/python/gcc/3.10/lib/python3.10/site-packages/jupyterlab
[I 2022-09-29 12:43:02.044 LabApp] JupyterLab application directory is /ifs/opt/python/gcc/3.10/share/jupyter/lab
[I 2022-09-29 12:43:02.047 ServerApp] jupyterlab | extension was successfully loaded.
[I 2022-09-29 12:43:02.052 ServerApp] nbclassic | extension was successfully loaded.
[I 2022-09-29 12:43:02.053 ServerApp] Serving notebooks from local directory: /home/rbatty
[I 2022-09-29 12:43:02.053 ServerApp] Jupyter Server 1.18.1 is running at:
[I 2022-09-29 12:43:02.053 ServerApp] http://localhost:8888/lab?token=random_string
[I 2022-09-29 12:43:02.053 ServerApp]  or http://127.0.0.1:8888/lab?token=random_string
[I 2022-09-29 12:43:02.053 ServerApp] Use Control-C to stop this server and shut down all kernels (twice to skip confirmation).
[C 2022-09-29 12:43:02.065 ServerApp]
...
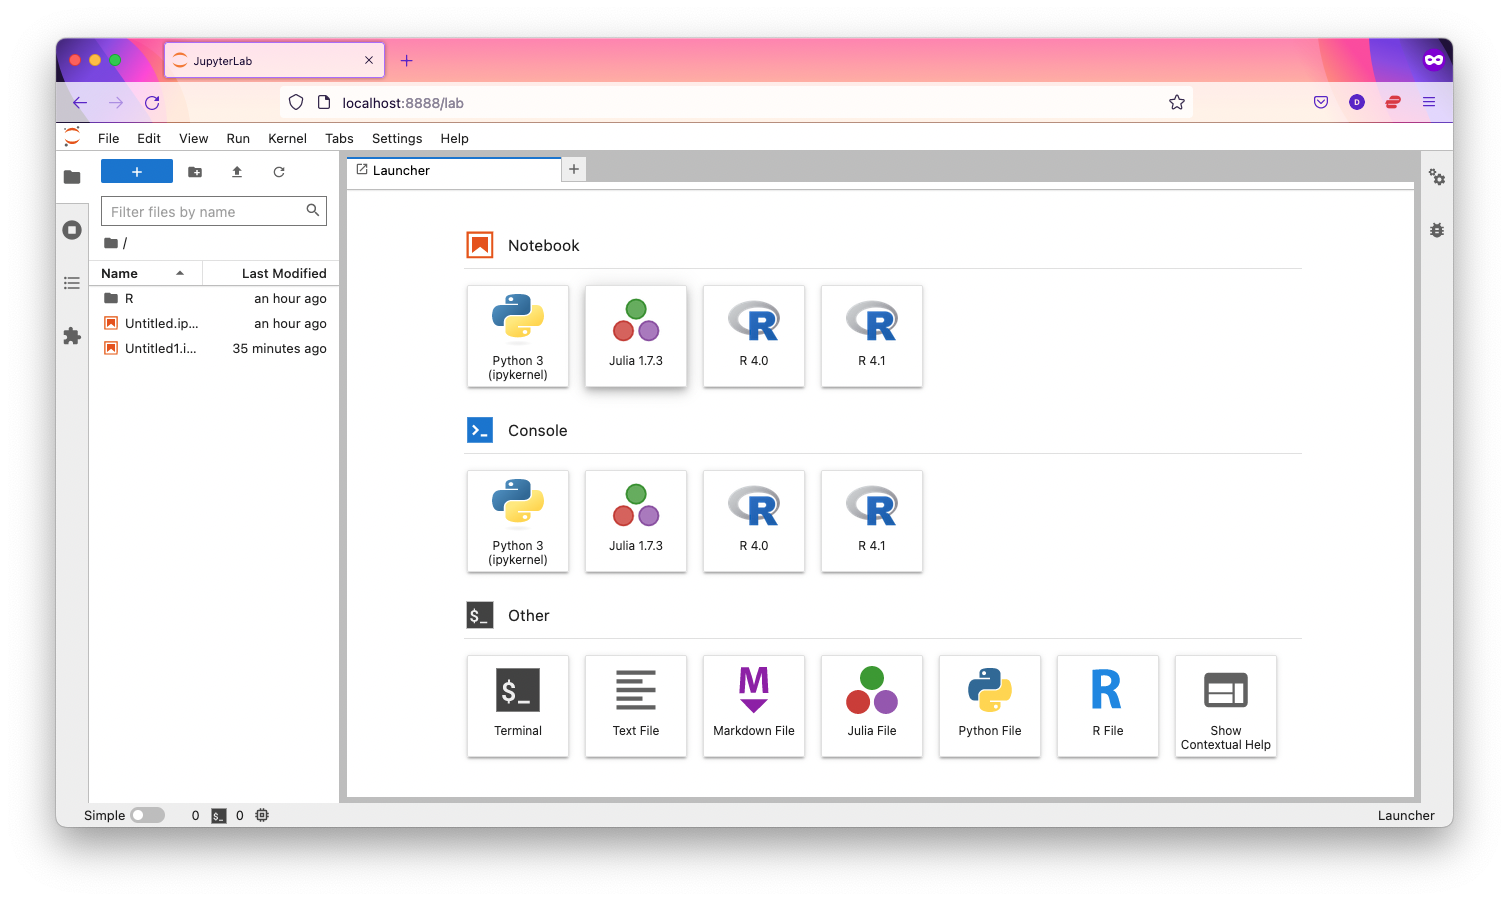
Click on the "Python 3 (ipykernel)" button to create a new notebook.
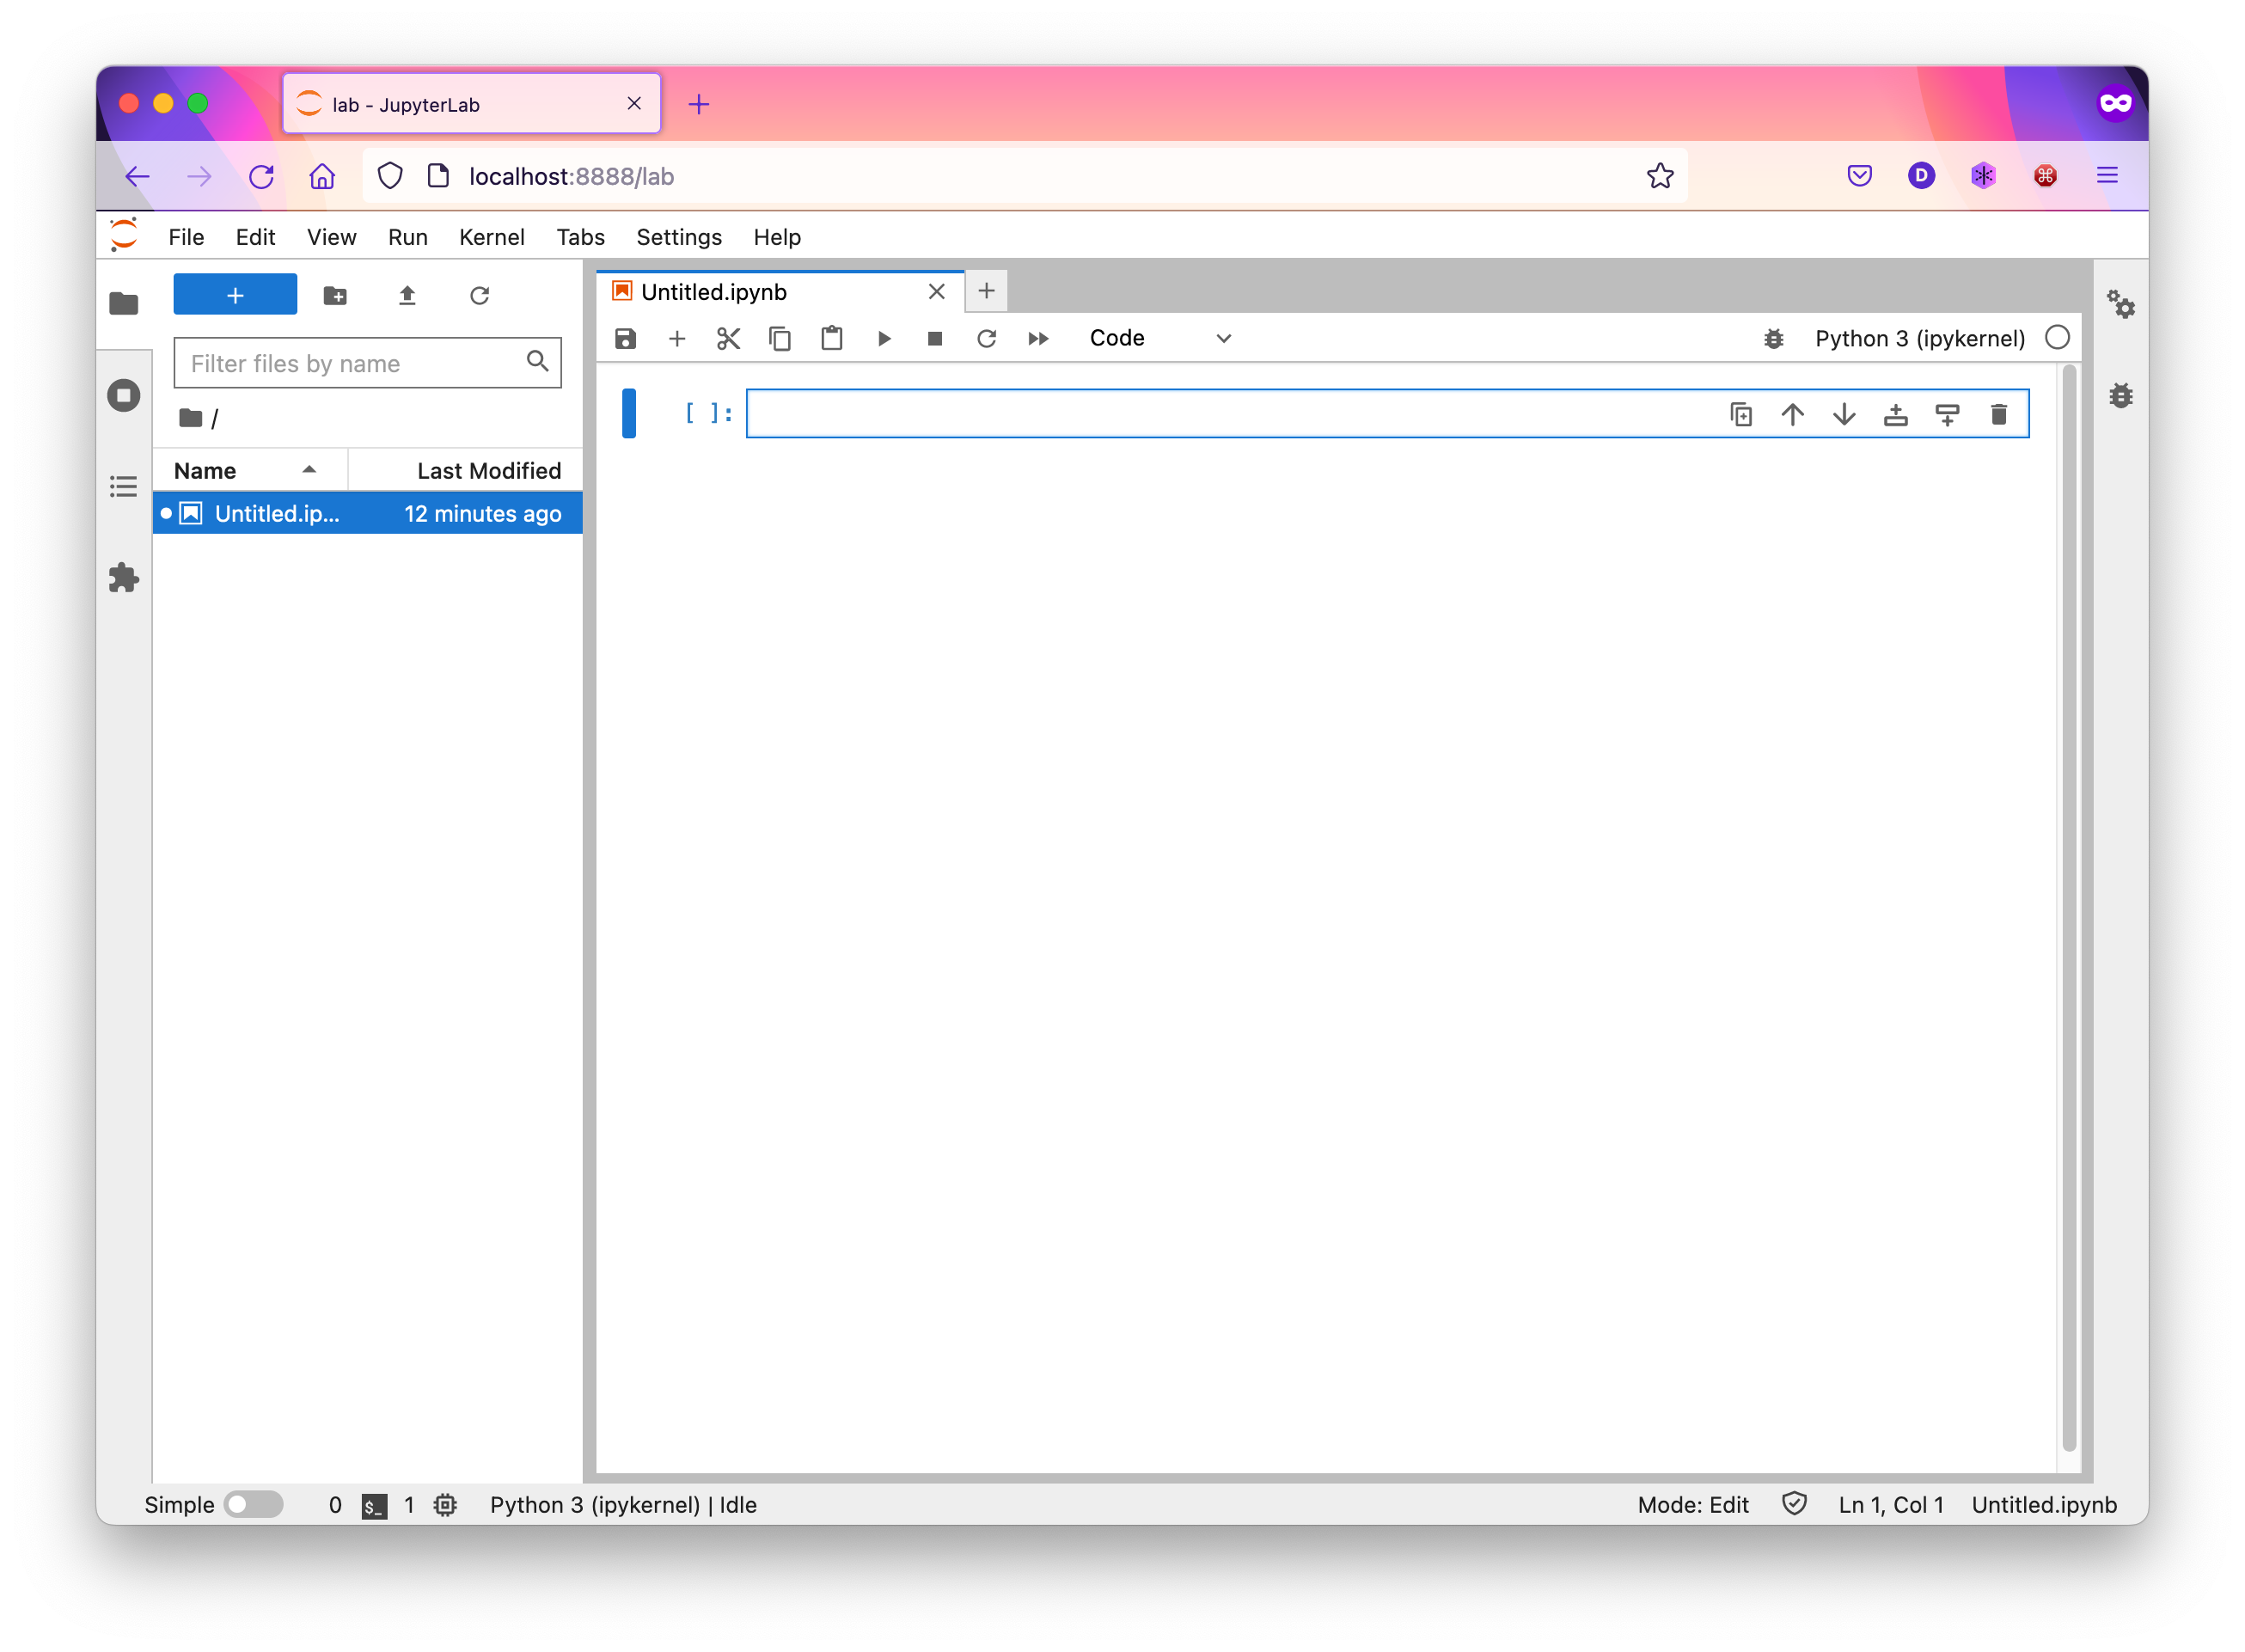
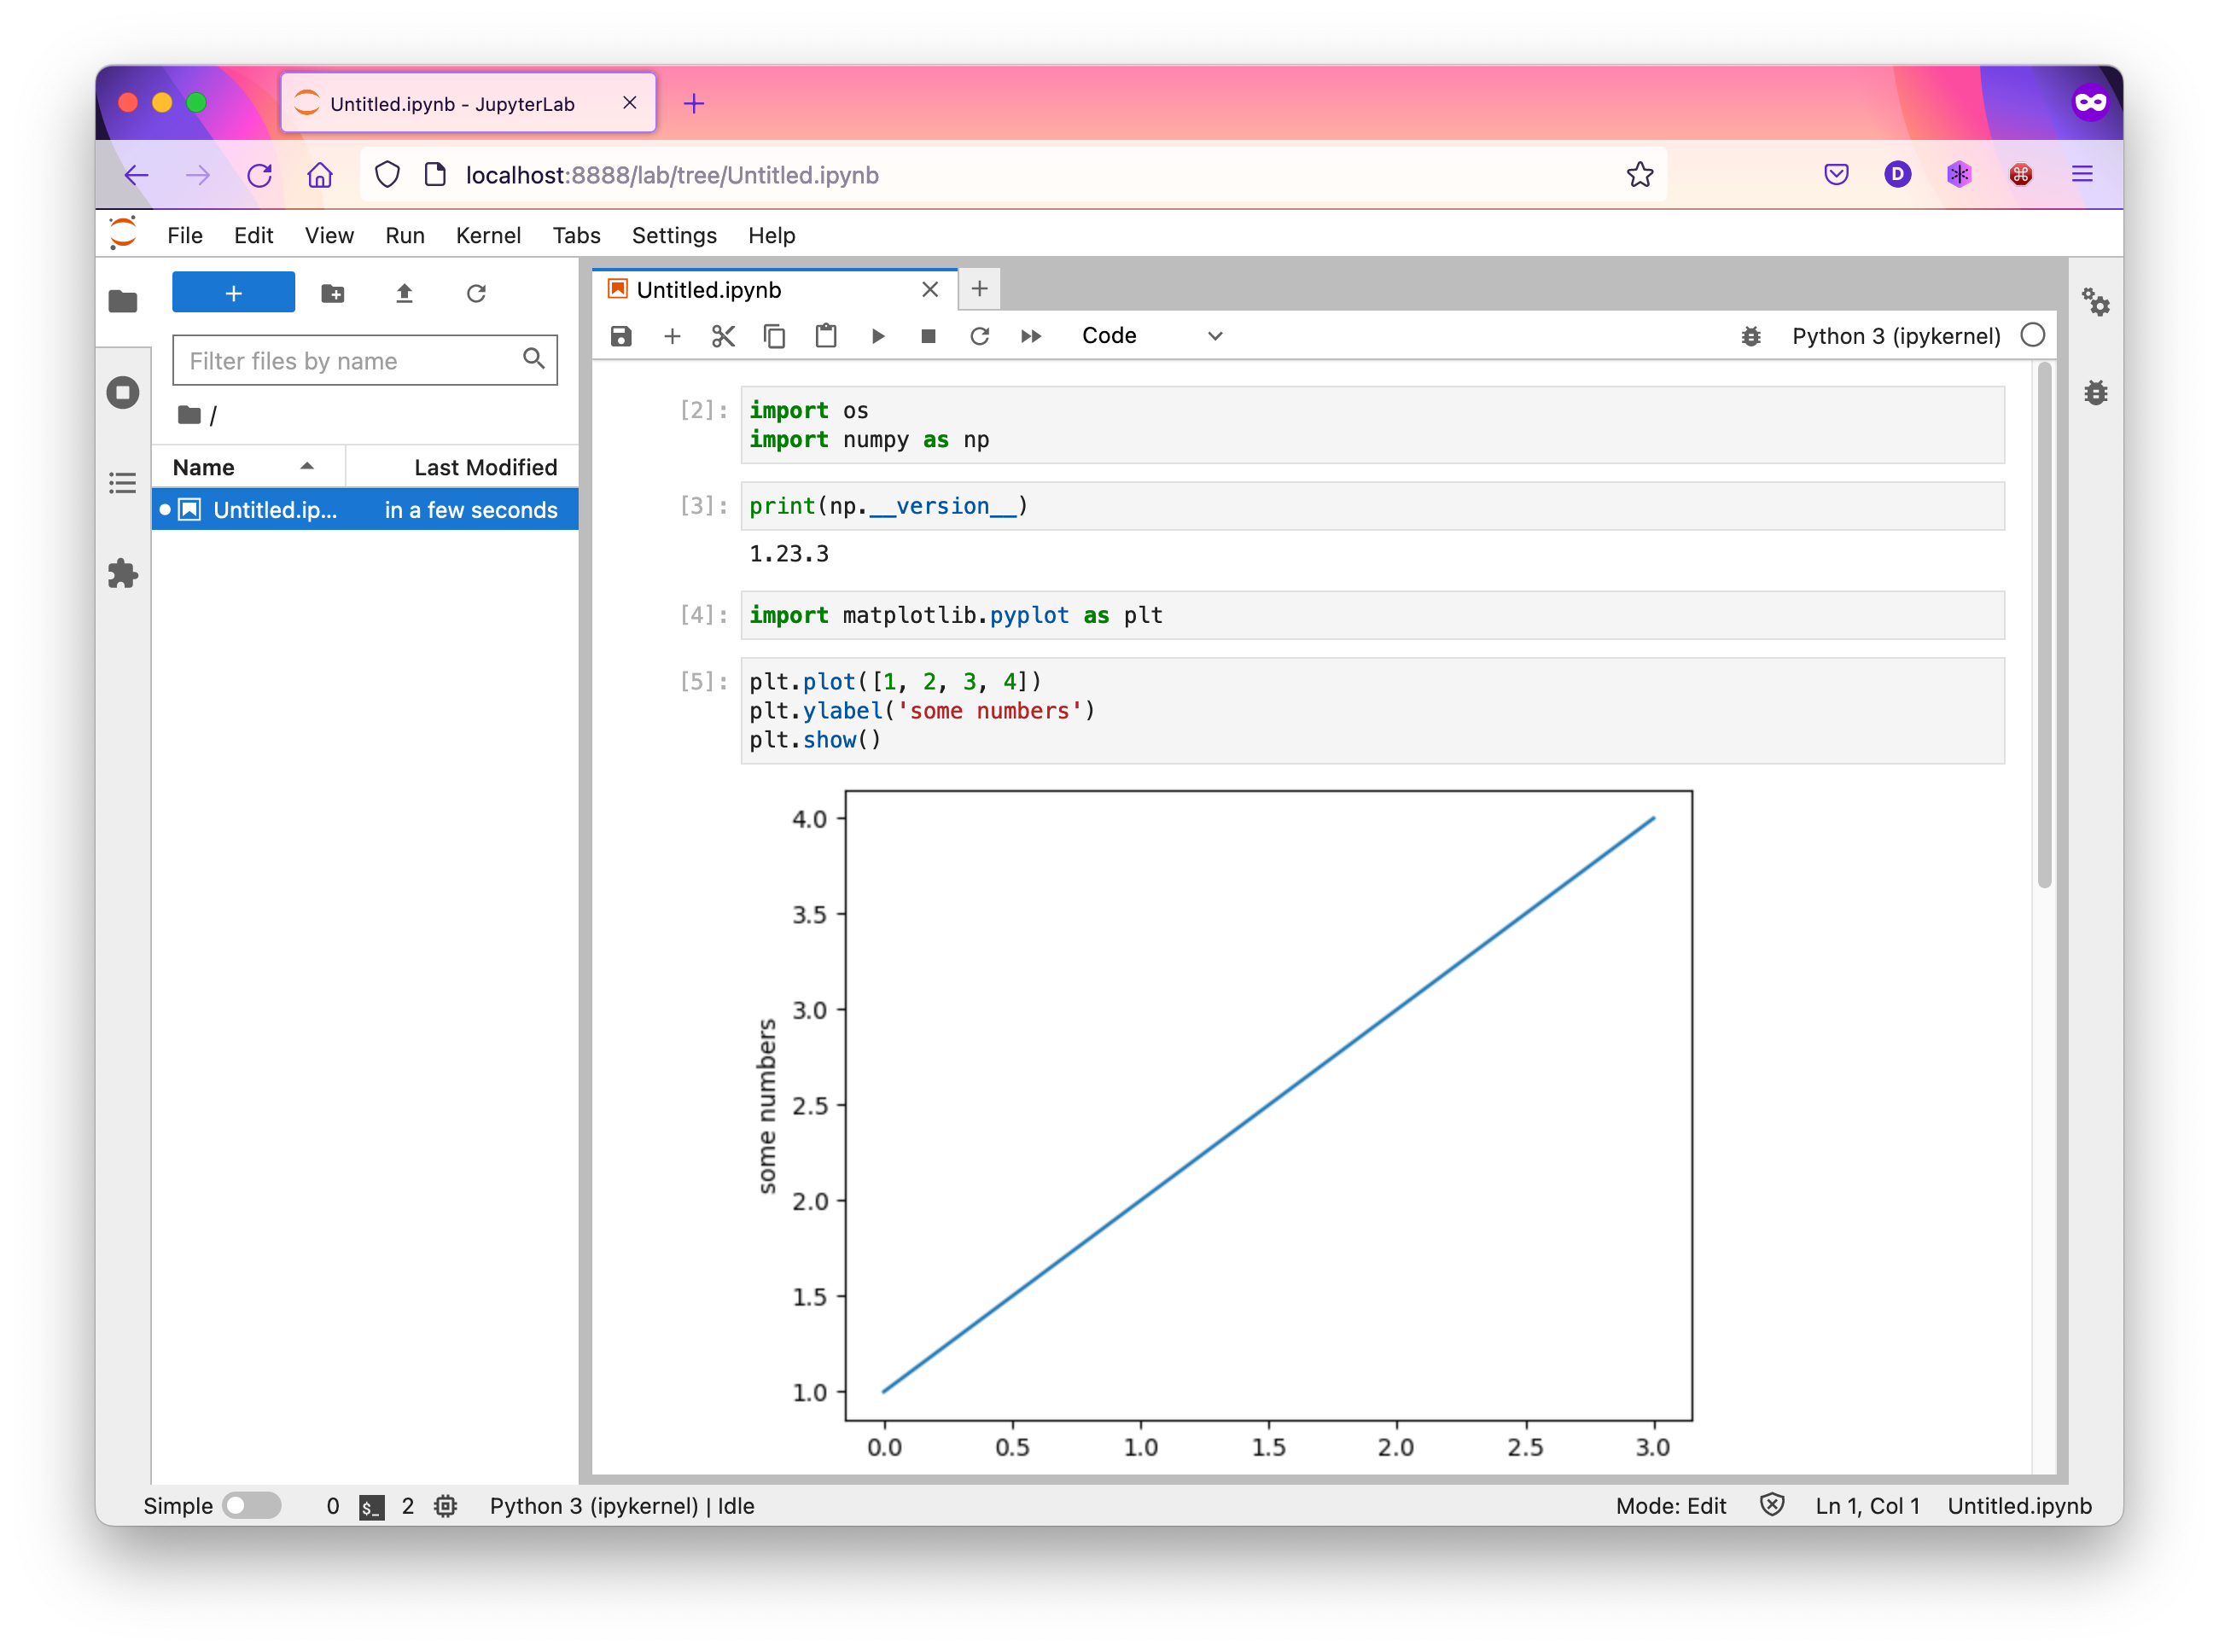
You can edit and run code in the notebook.
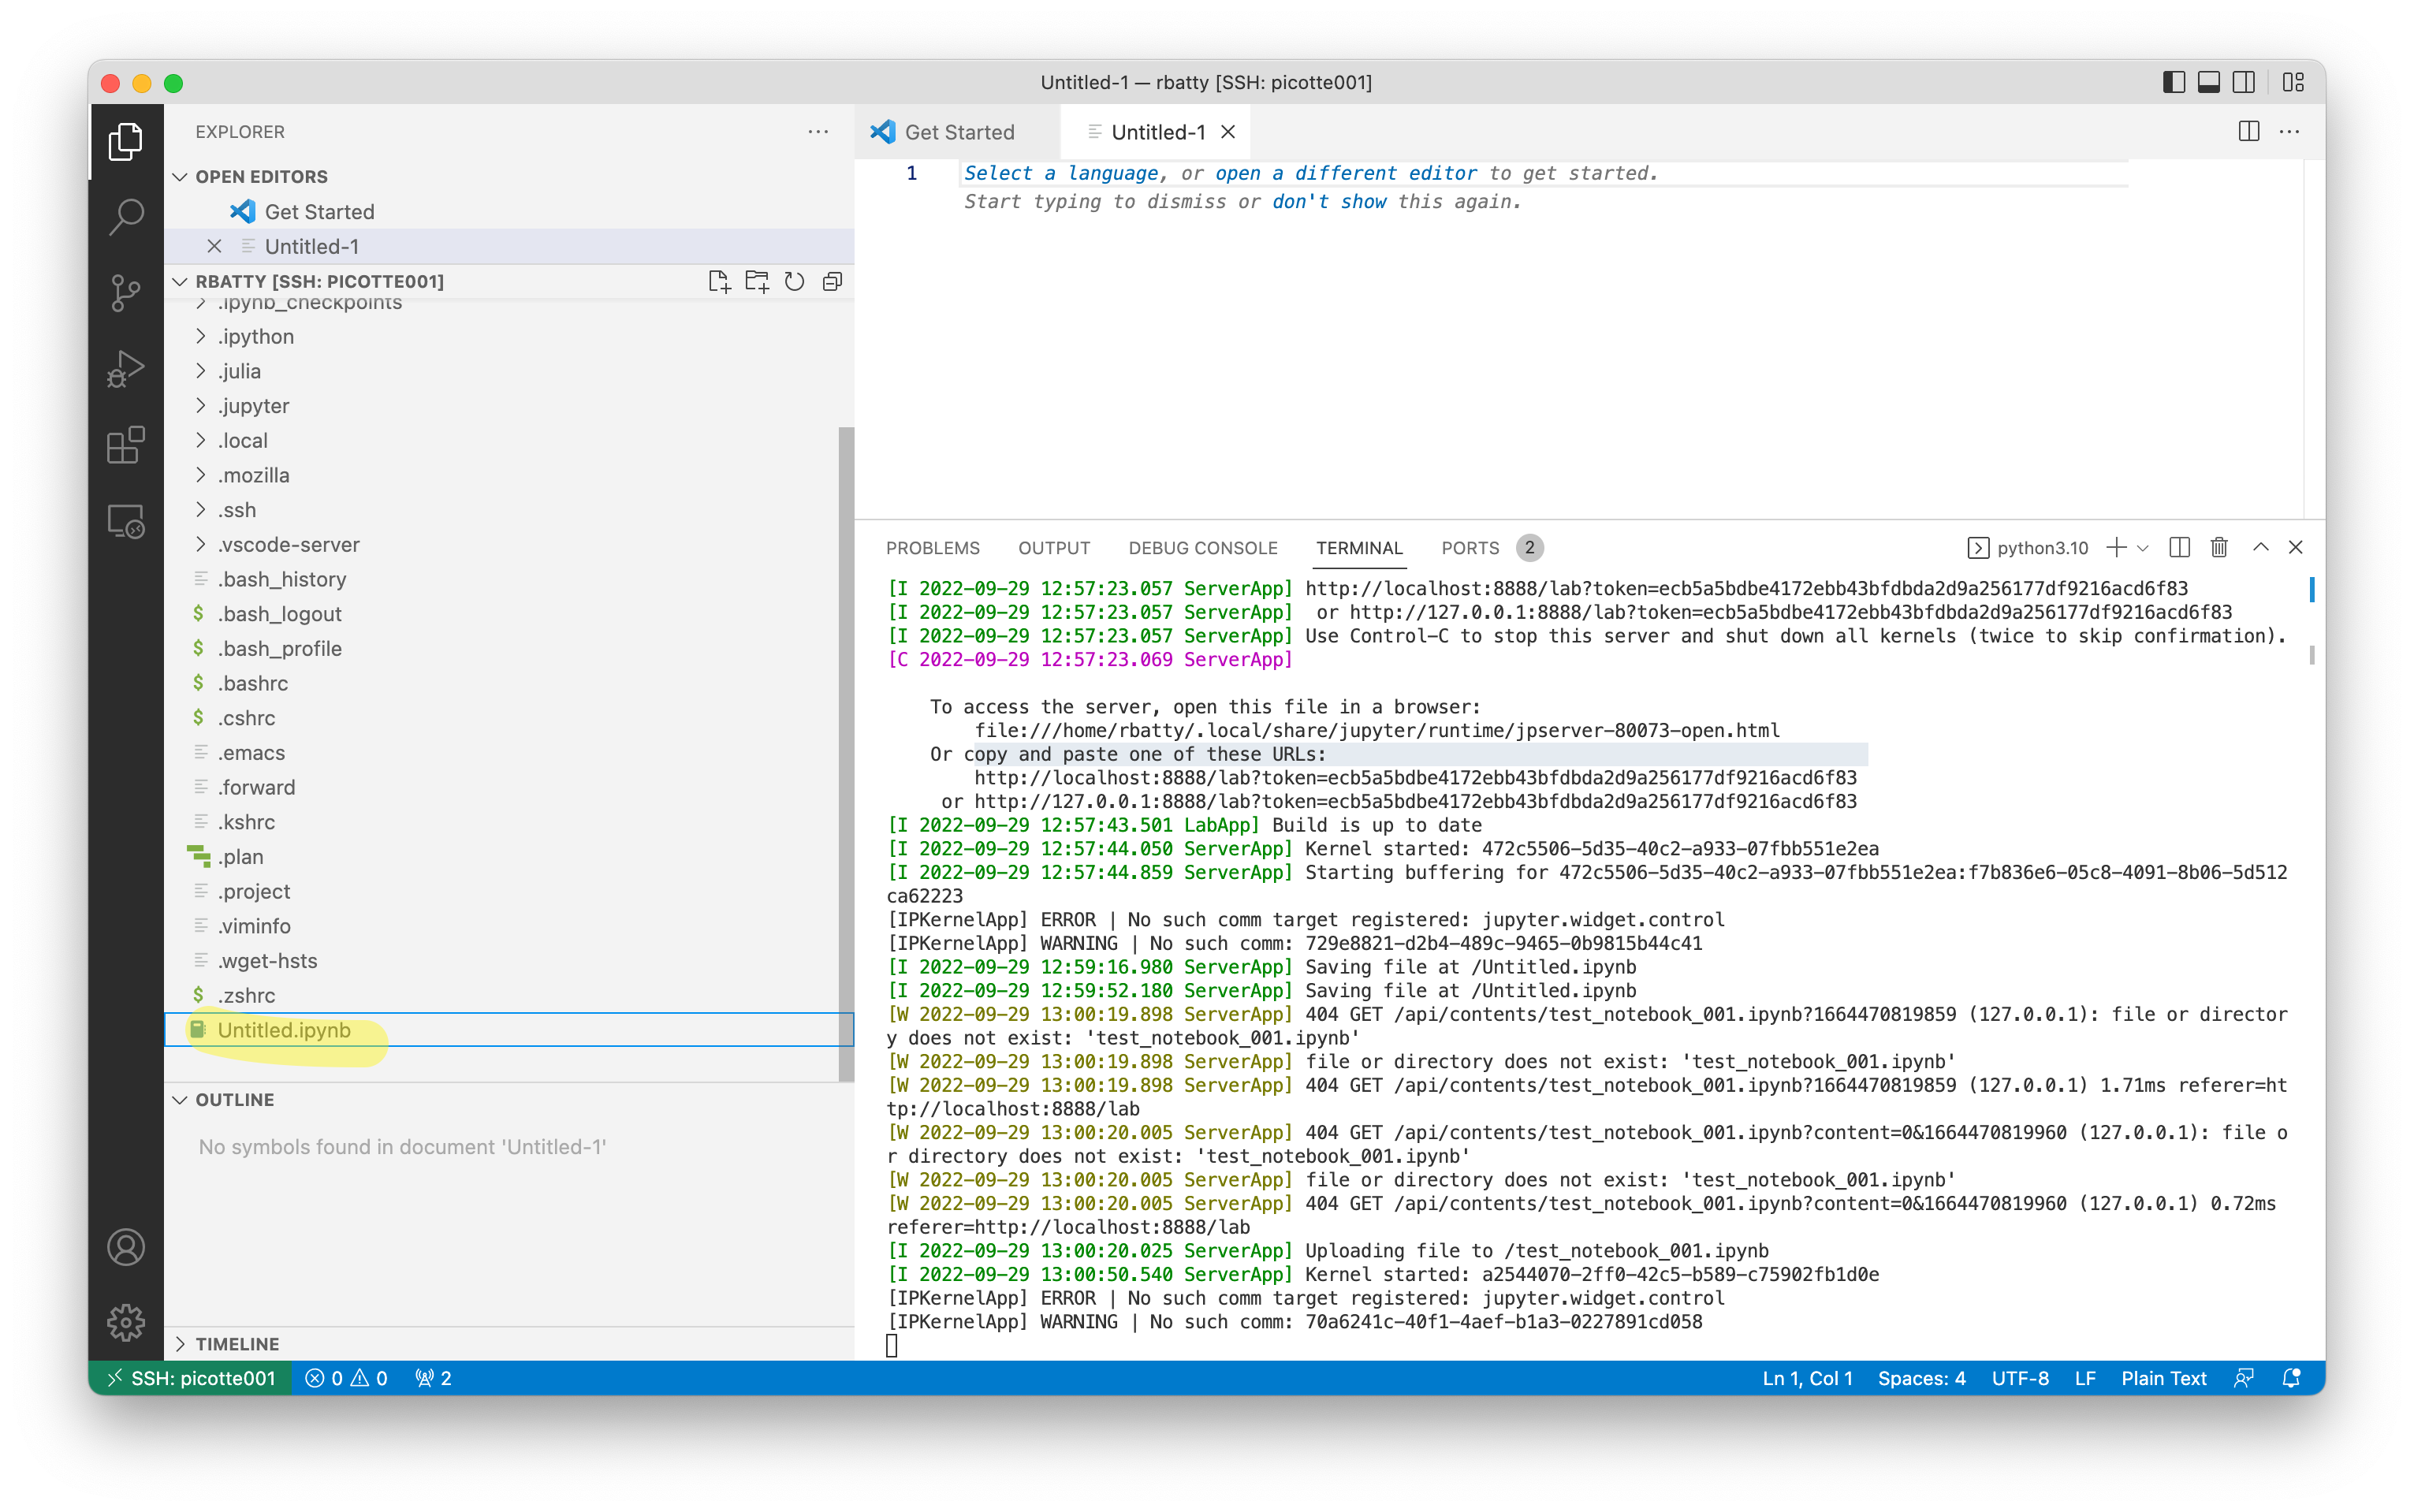
The Untitled.ipynb notebook resides on Picotte. You can see it in the
Explorer in VS Code:
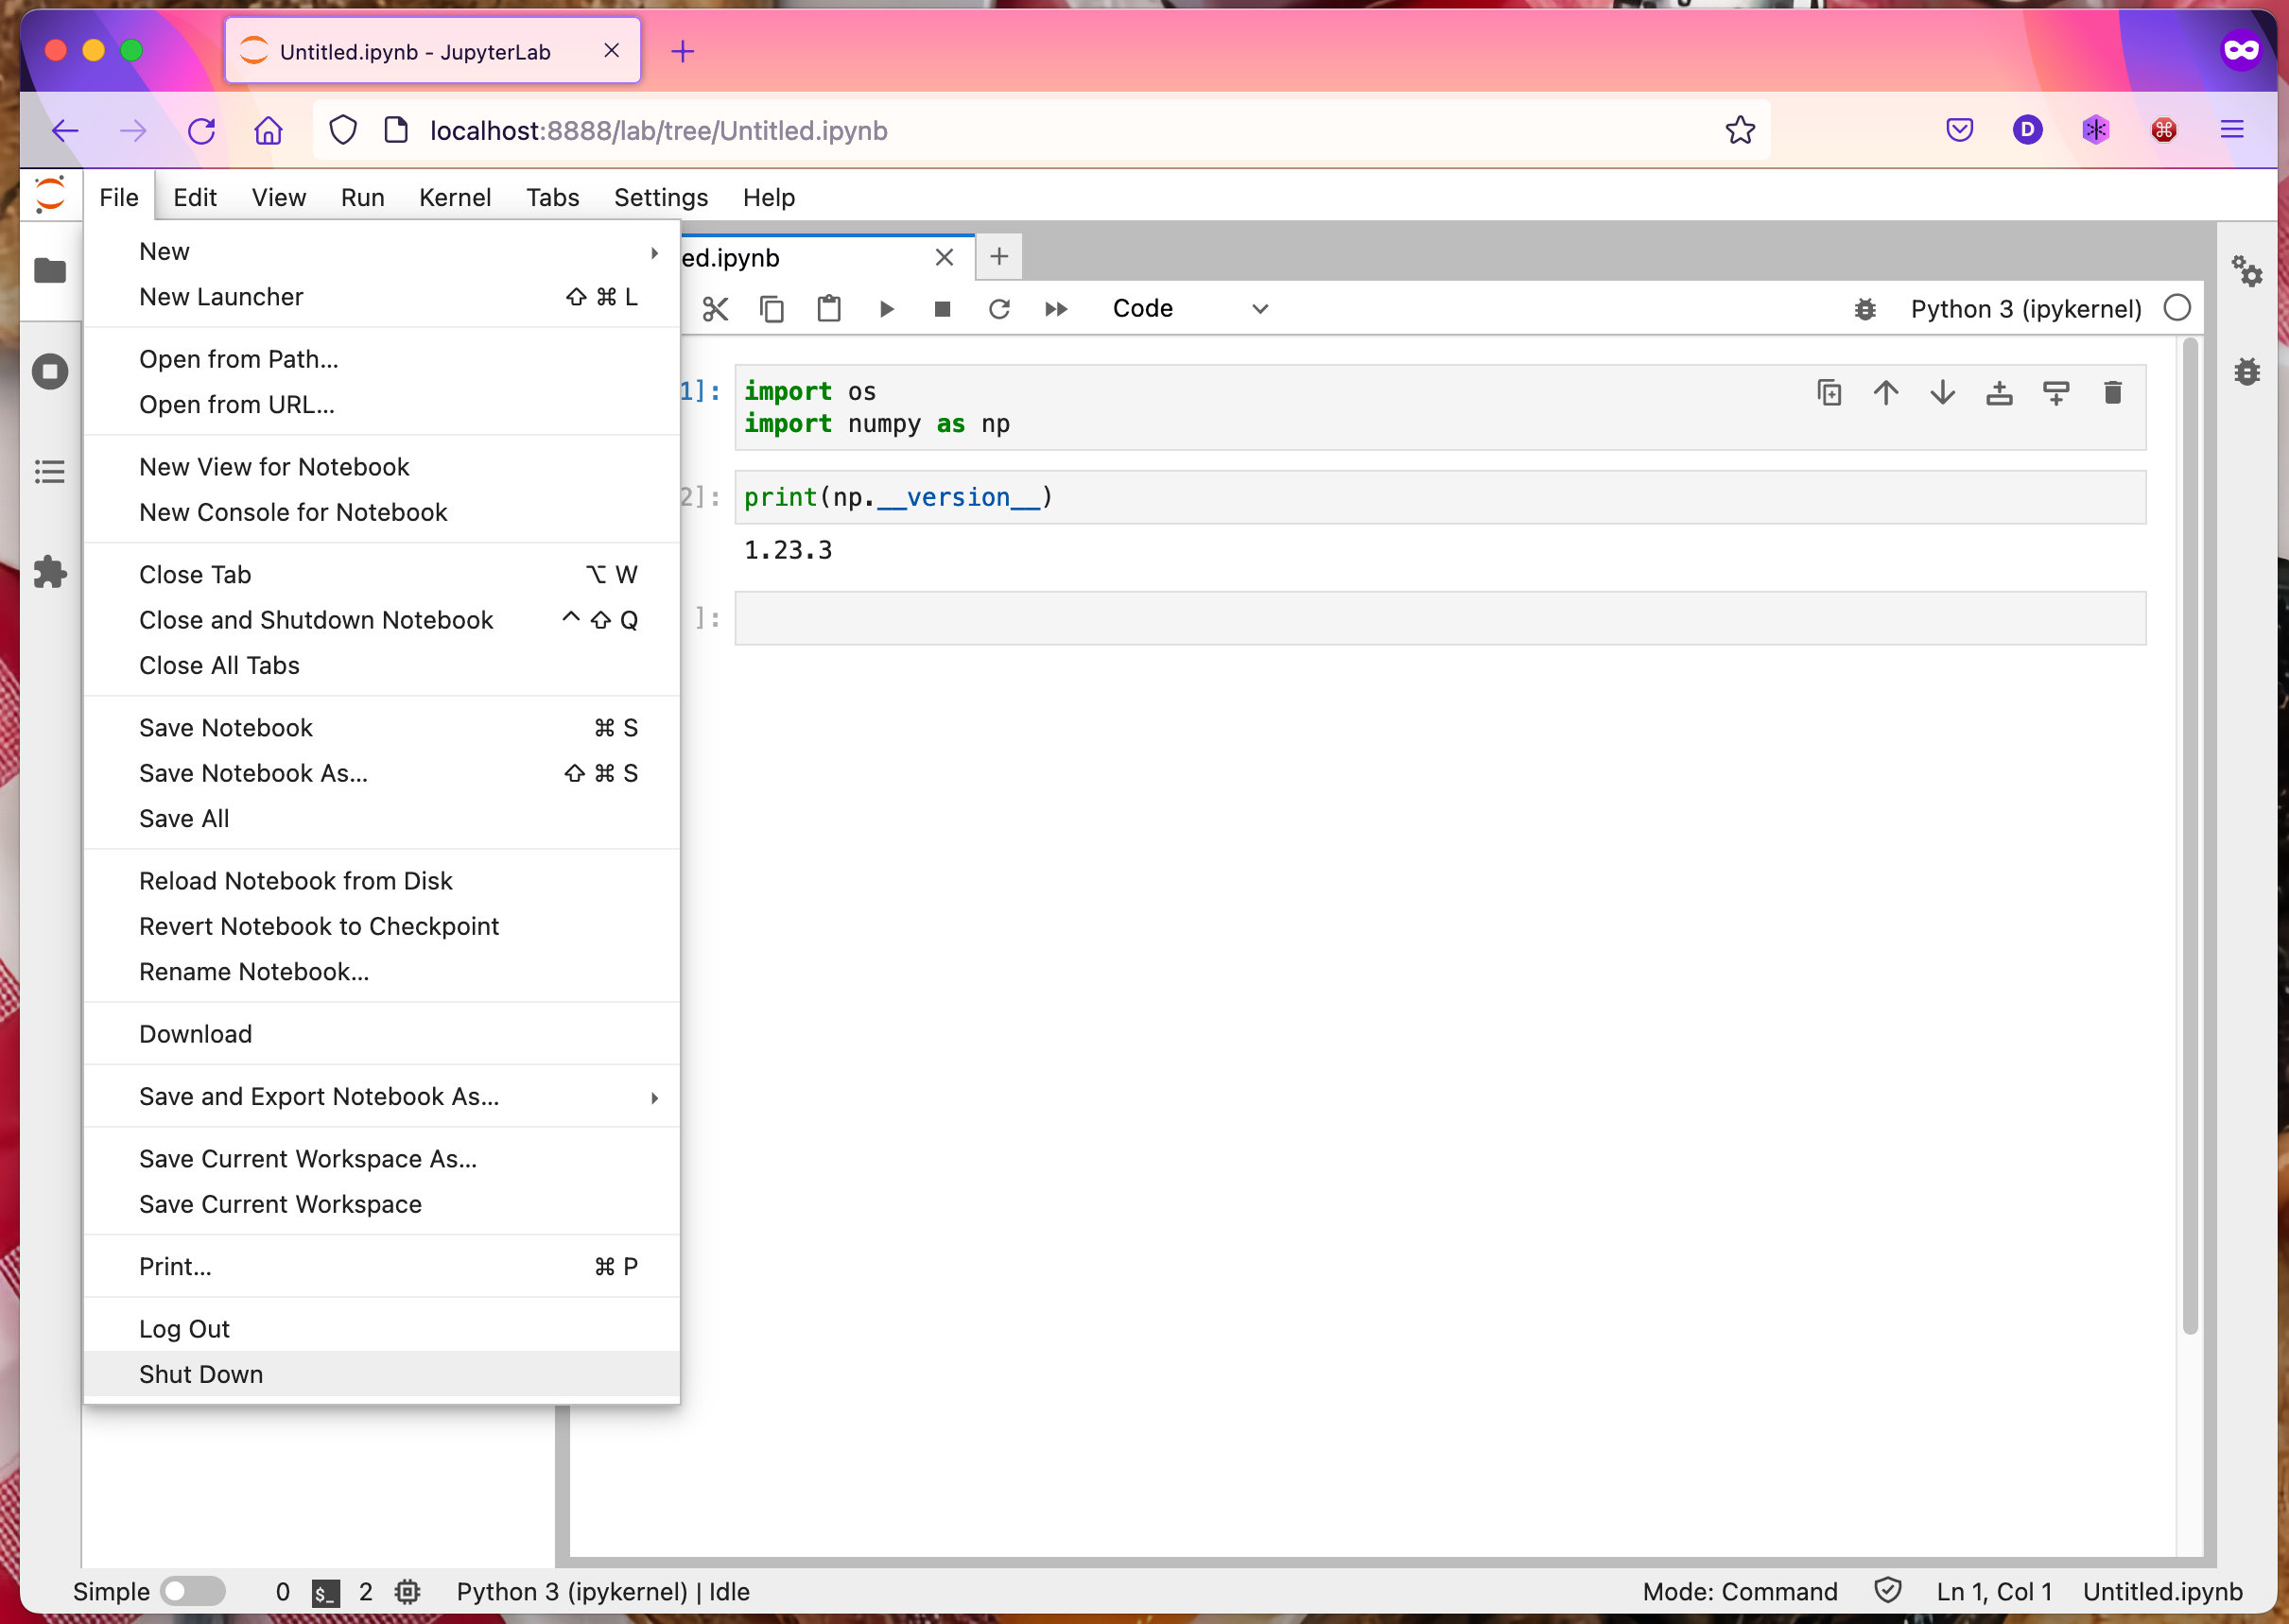
Once you are done, shut down the Jupyter server:
Running Jupyter on Picotte, displaying within VS Code
This requires the use of the Jupyter extension. When you install the extension with the remote session running, you should see a message "This extension is enabled in the Remote Extension Host because it prefers to run there."
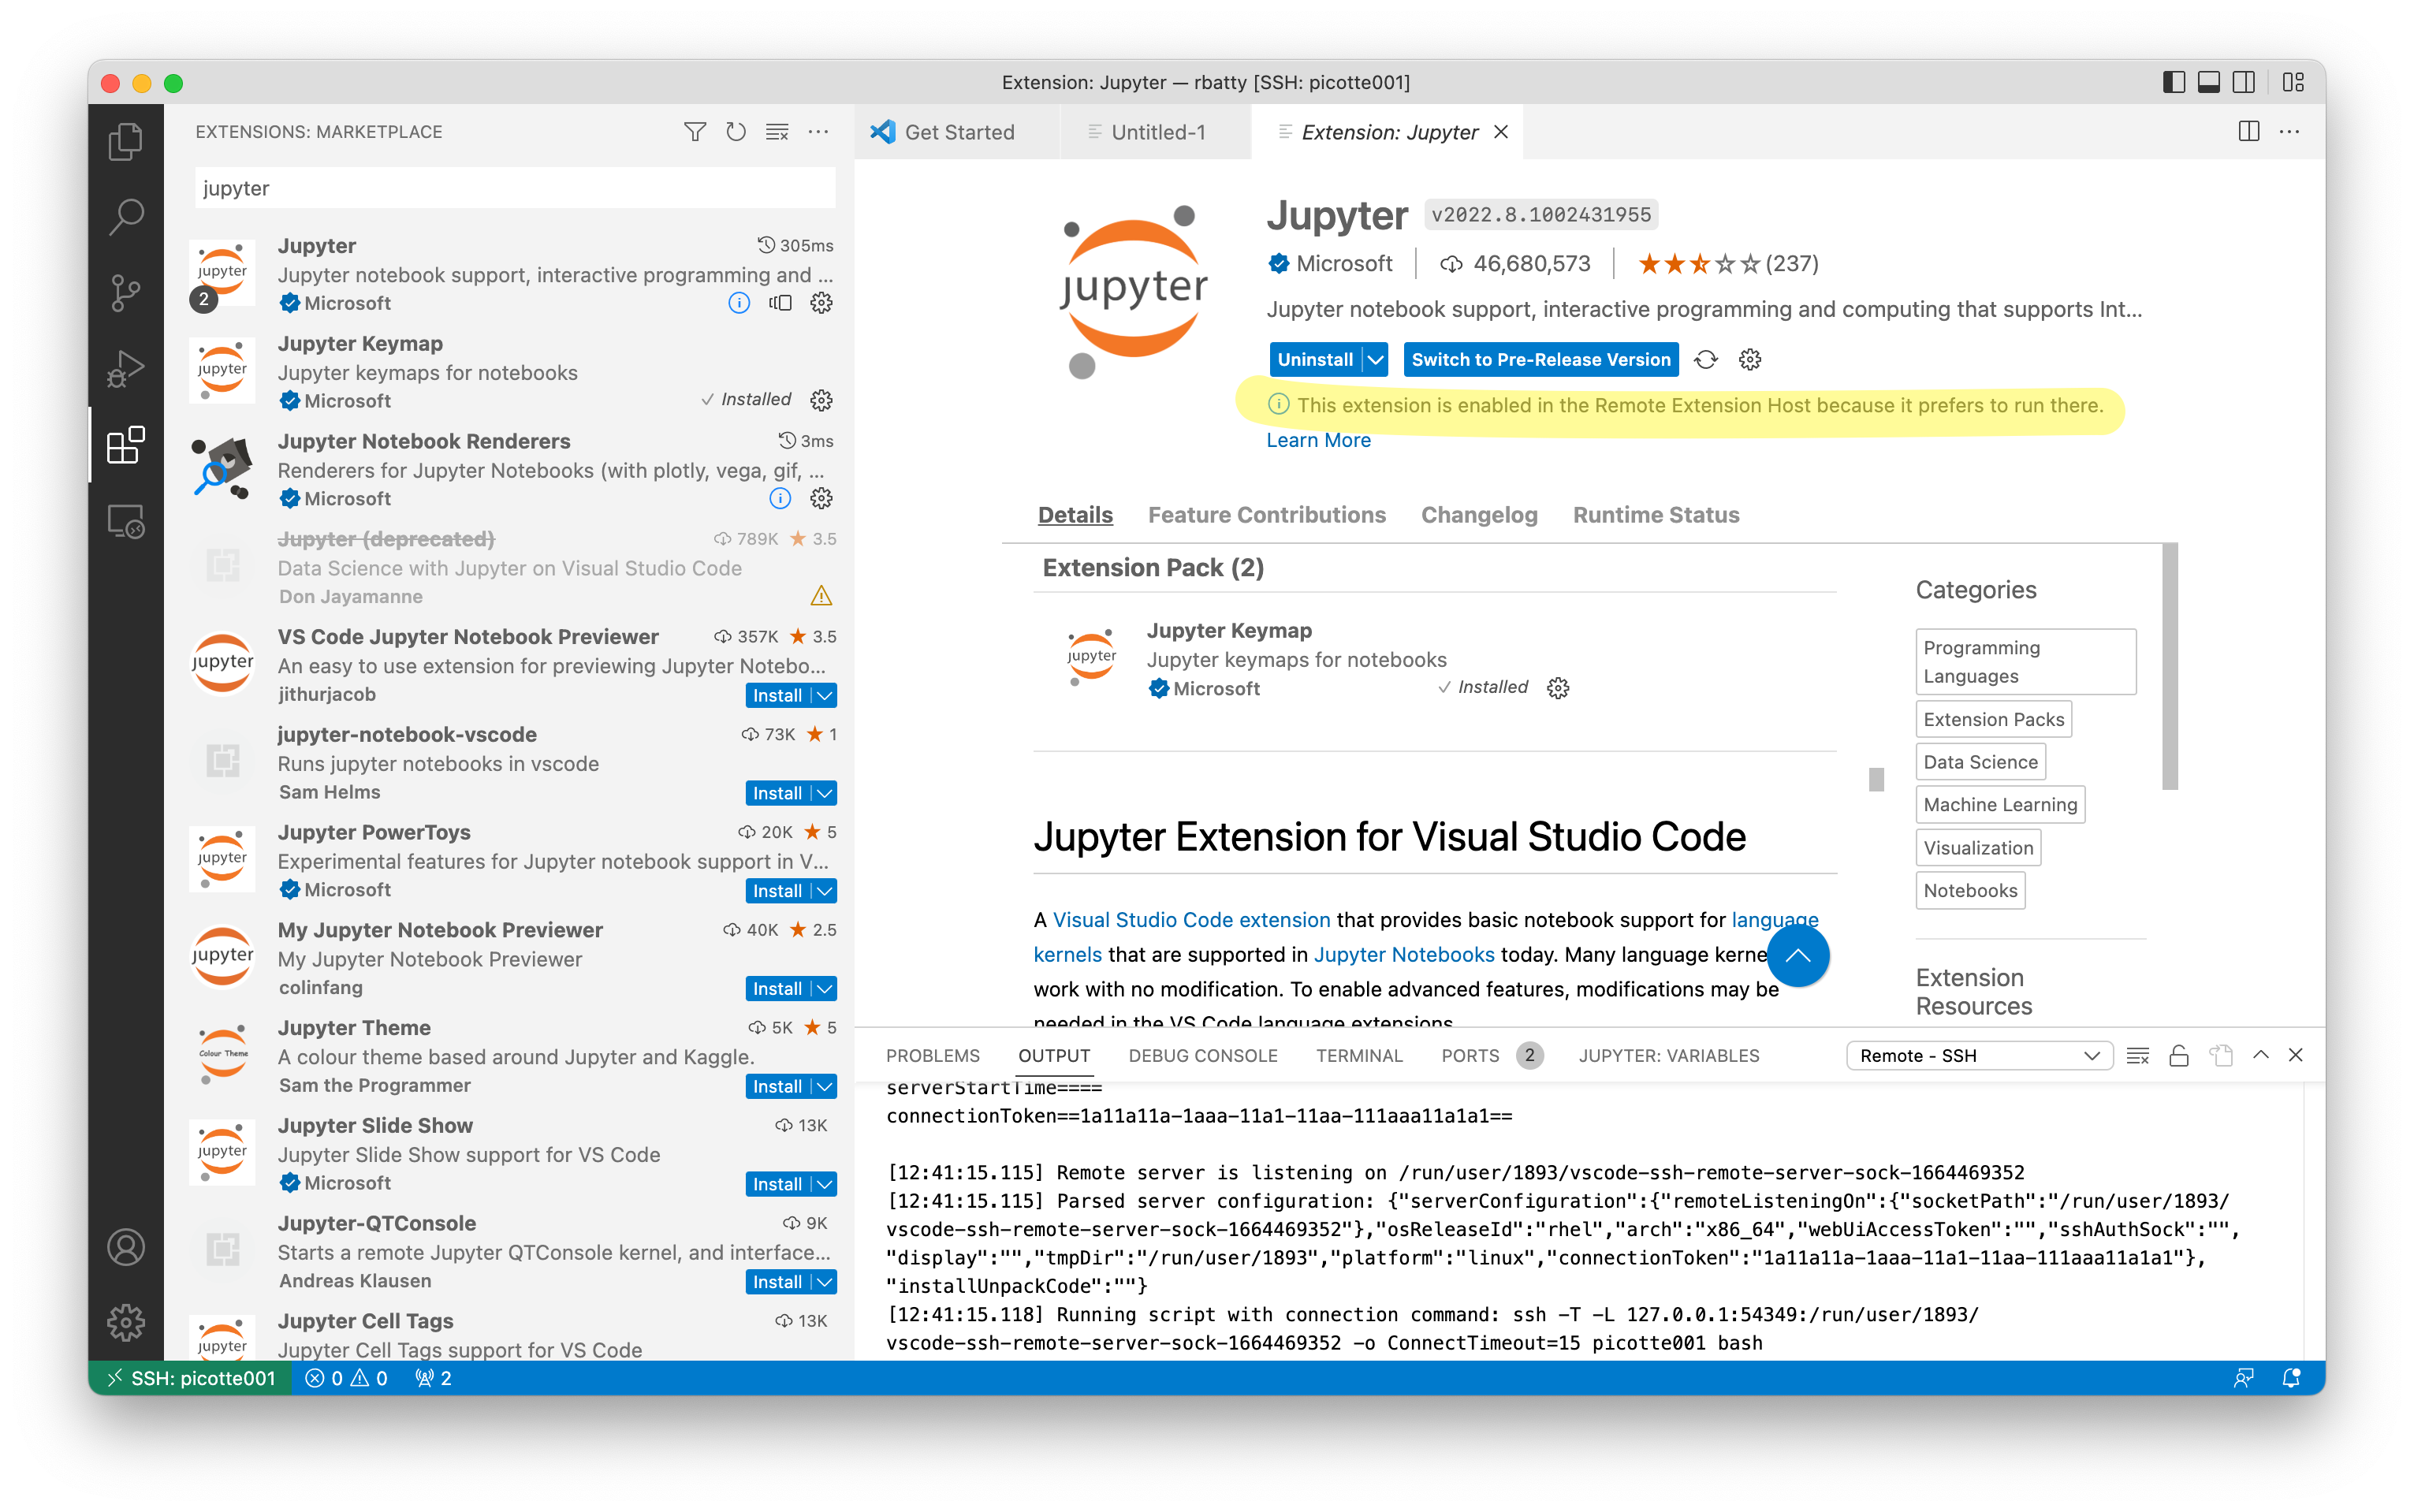
You may also want to install the Python extension.
Again, in the terminal of VS Code, run "jupyter-lab". Copy the URL
that is in the output, e.g. something like
“http://localhost:8888/lab?token=random_string”
In the VS Code explorer in the left pane, double click on an existing
notebook, e.g. Untitled.ipynb file that was created in the previous
example. In the top right hand of the main editing pane, you should see
a button labeled "Select Kernel".

Click it, and you should be presented with some options. Select "Connect to Another Jupyter Server", and paste the URL that you copied before:

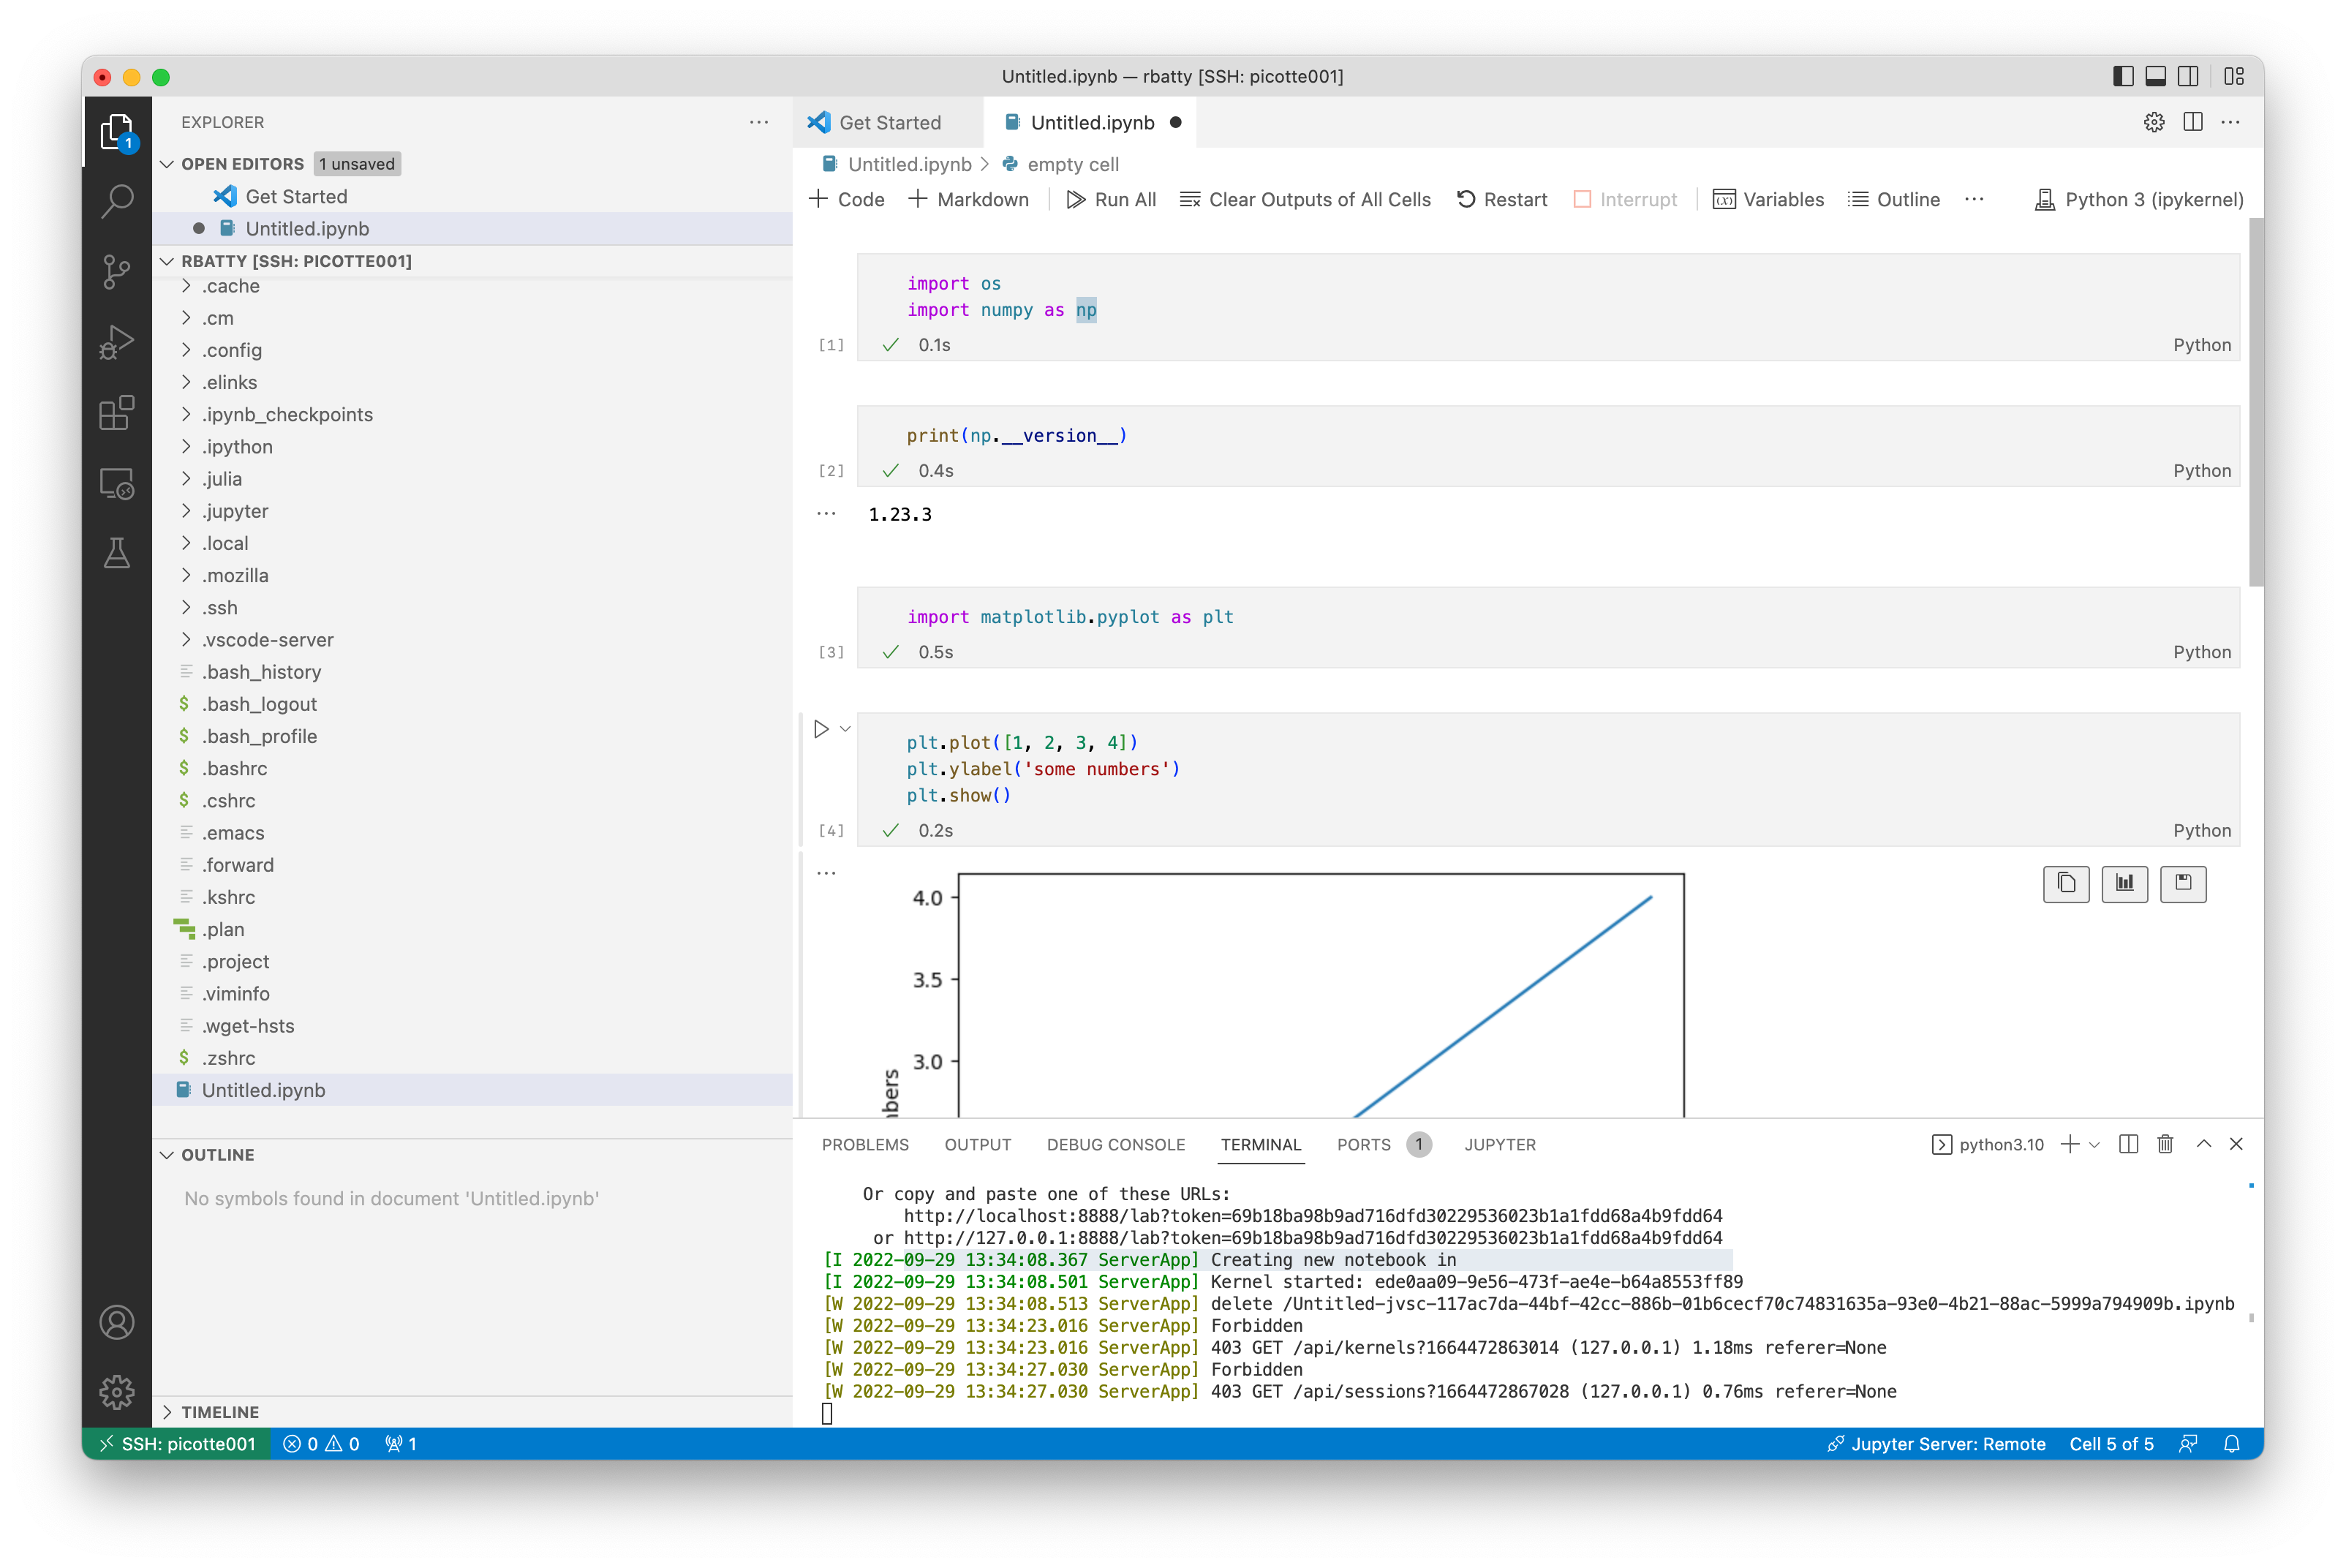
In the status line at the bottom of the VS Code window, you should see "Jupyter Server: Remote" near the right side. You can now run your notebook within VS Code:
Once you are finished working, type "Ctrl-C" in the VS Code terminal pane, and hit "Y" to confirm shutting down the kernel.